# Admin Setup: Add the Connector for Your Organization
Who this is for: the owner of your Claude Team or Enterprise organization.
How often: once. After you have done this, the Quicklizard connector appears for everyone in your organization, and each person then connects their own Quicklizard account by following User Setup.
Only owners can do this
On Team and Enterprise plans, only a user with the Owner role can add a custom connector. If you do not see the option described below, you are not an owner — ask whoever administers your Claude organization to complete this guide.
On Claude Pro or Max, without an organization?
You have no organization settings, and you do not need them. Add the connector to your own account using the one-click installer on our Connect Quicklizard MCP to Claude page, or manually from Customize → Connectors → Add. Then go straight to User Setup.
Team and Enterprise owners: do not use the one-click installer
The one-click button on that page adds the connector to your own account only. It will look like it worked, but nobody else in your organization will see the connector.
To make it available to your whole organization, follow the steps below instead, from Organization settings → Connectors.
# Before you start
Pick the URL for your region. If you get this wrong, users will be unable to sign in.
| Region | Name to use | MCP server URL |
|---|---|---|
| US | Quicklizard US | https://mcp.usecp.quicklizard.com/mcp |
| EU | Quicklizard EU | https://mcp.euca.quicklizard.com/mcp |
If your company has Quicklizard accounts in both regions, repeat these steps for each one and keep the names distinct, so users know which to pick.
# Step 1 — Open your organization's connector settings
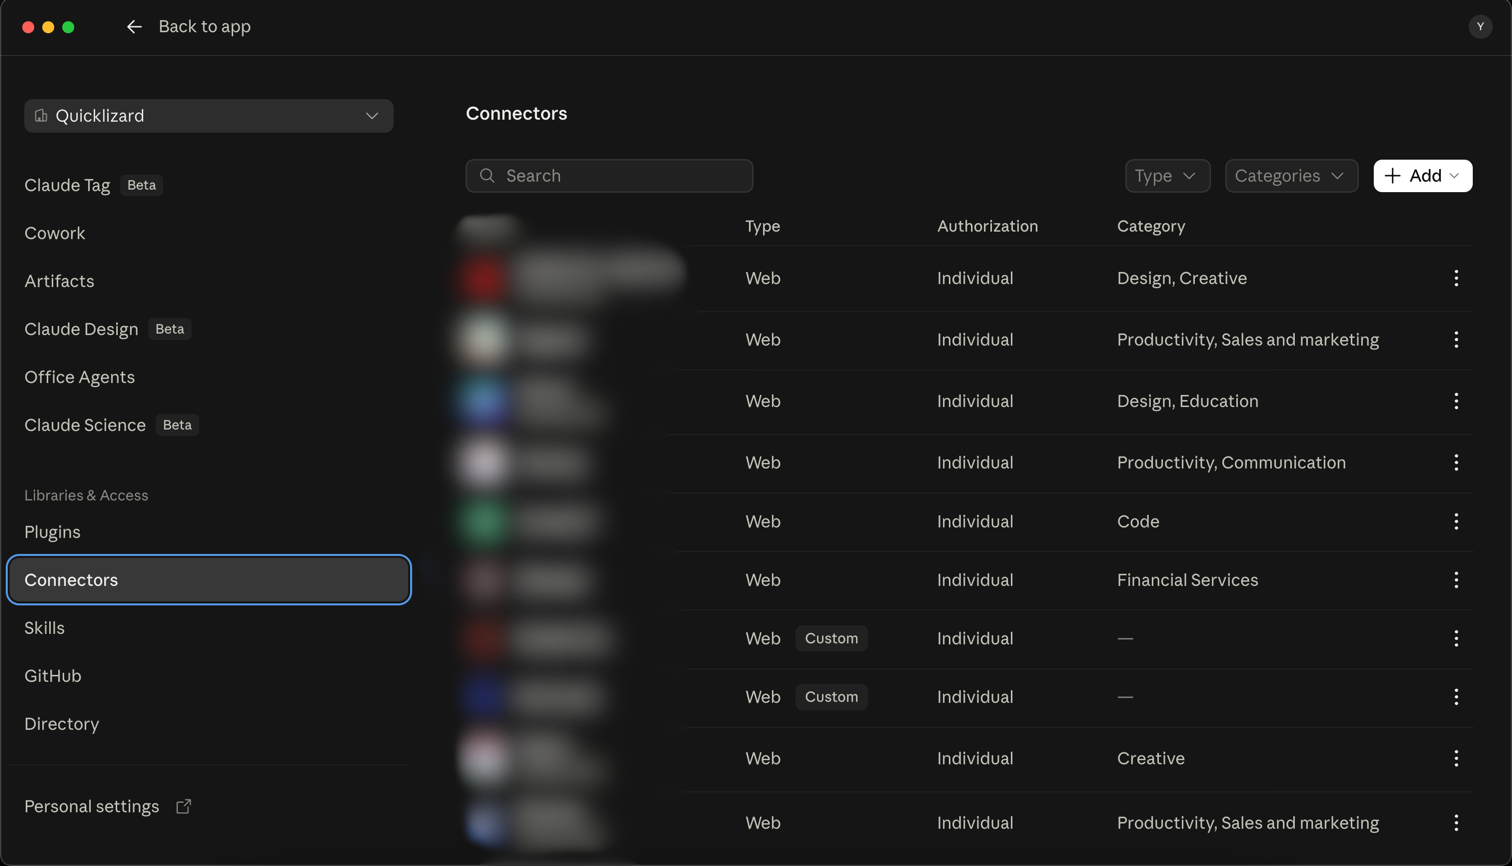
In Claude, go to Settings → Organization settings → Connectors.
This page is different from the personal Customize → Connectors page. Anything you add here is offered to every member of the organization; anything added under Customize applies only to your own account.
# Step 2 — Start adding a custom connector
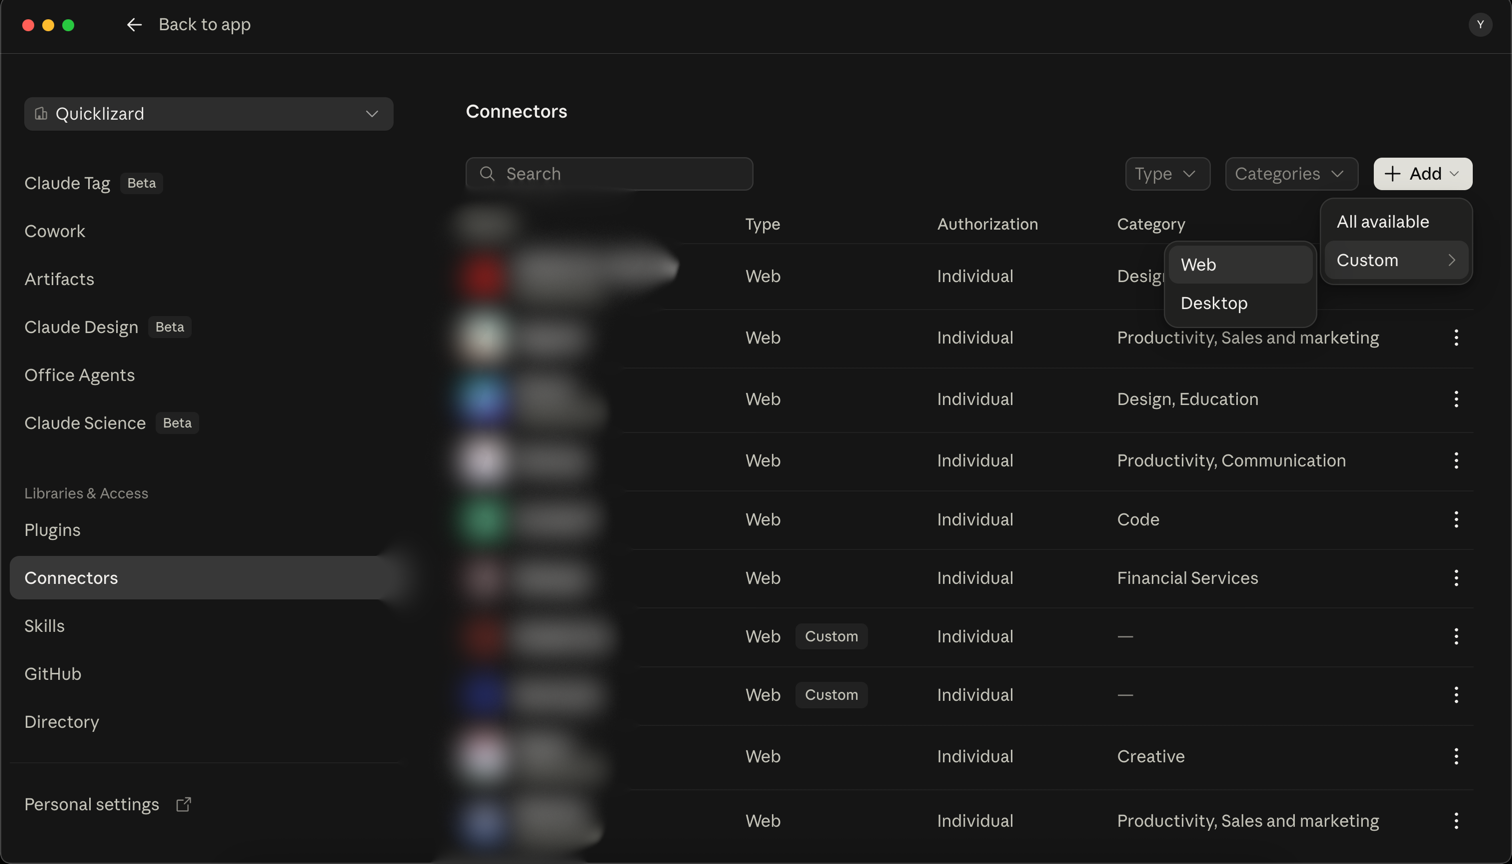
Click Add, hover over Custom, then choose Web.
# Step 3 — Enter the name and URL
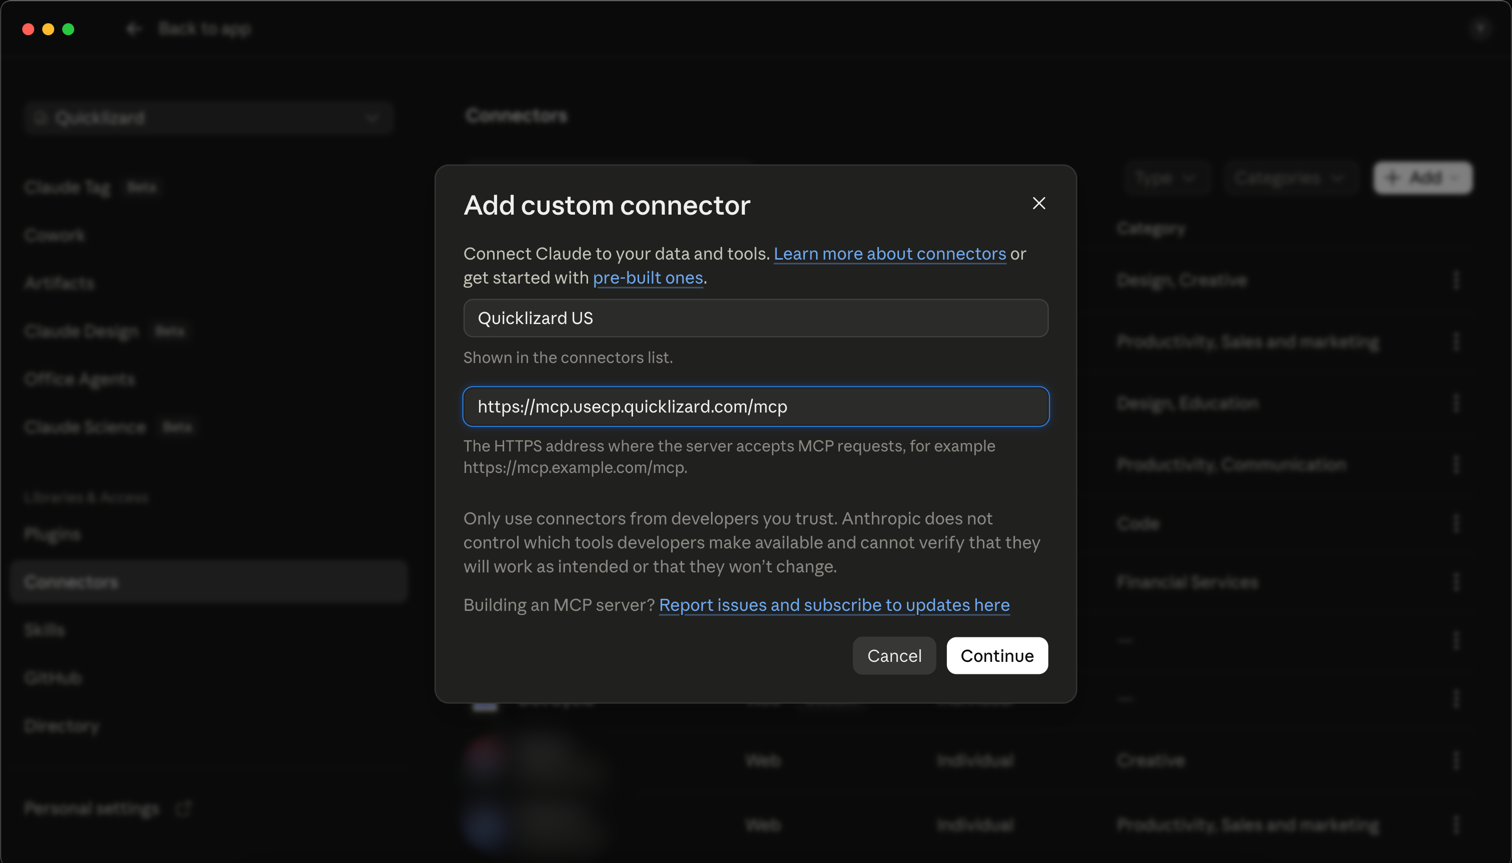
Fill in the dialog:
- Name —
Quicklizard USorQuicklizard EU, matching your region. This is the name your users will look for, so keep it exactly as written here. - URL — the MCP server URL for your region, copied from the table above.
You do not need to supply any OAuth client ID or secret — Quicklizard's connector handles its own authentication.
Click Continue to save.
# Step 4 — Confirm it was added
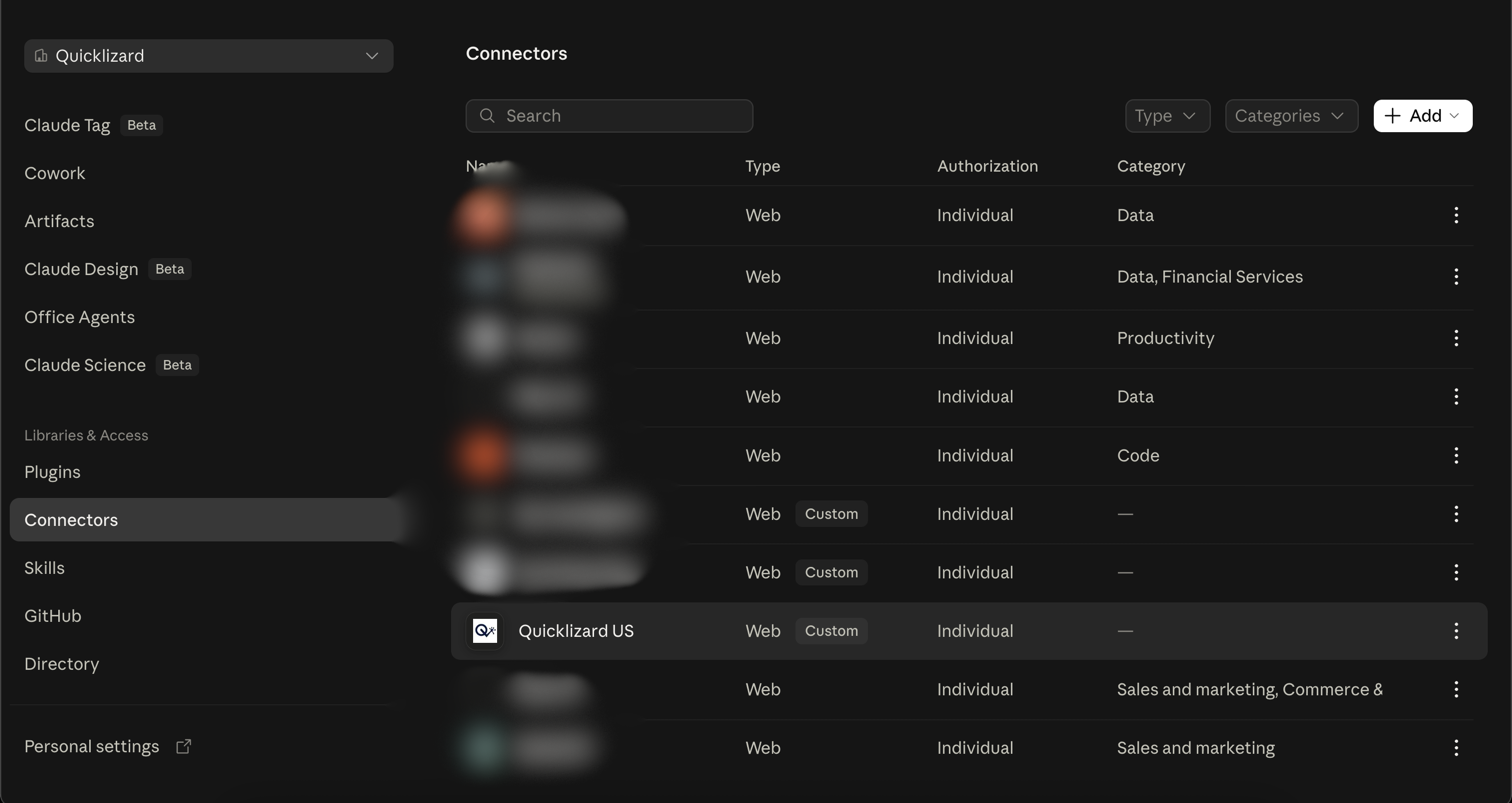
The connector now appears in your organization's connector list. Adding it does not connect anyone's account, including yours — it only makes the connector available to be connected.
# Step 5 — Review tool permissions (optional)
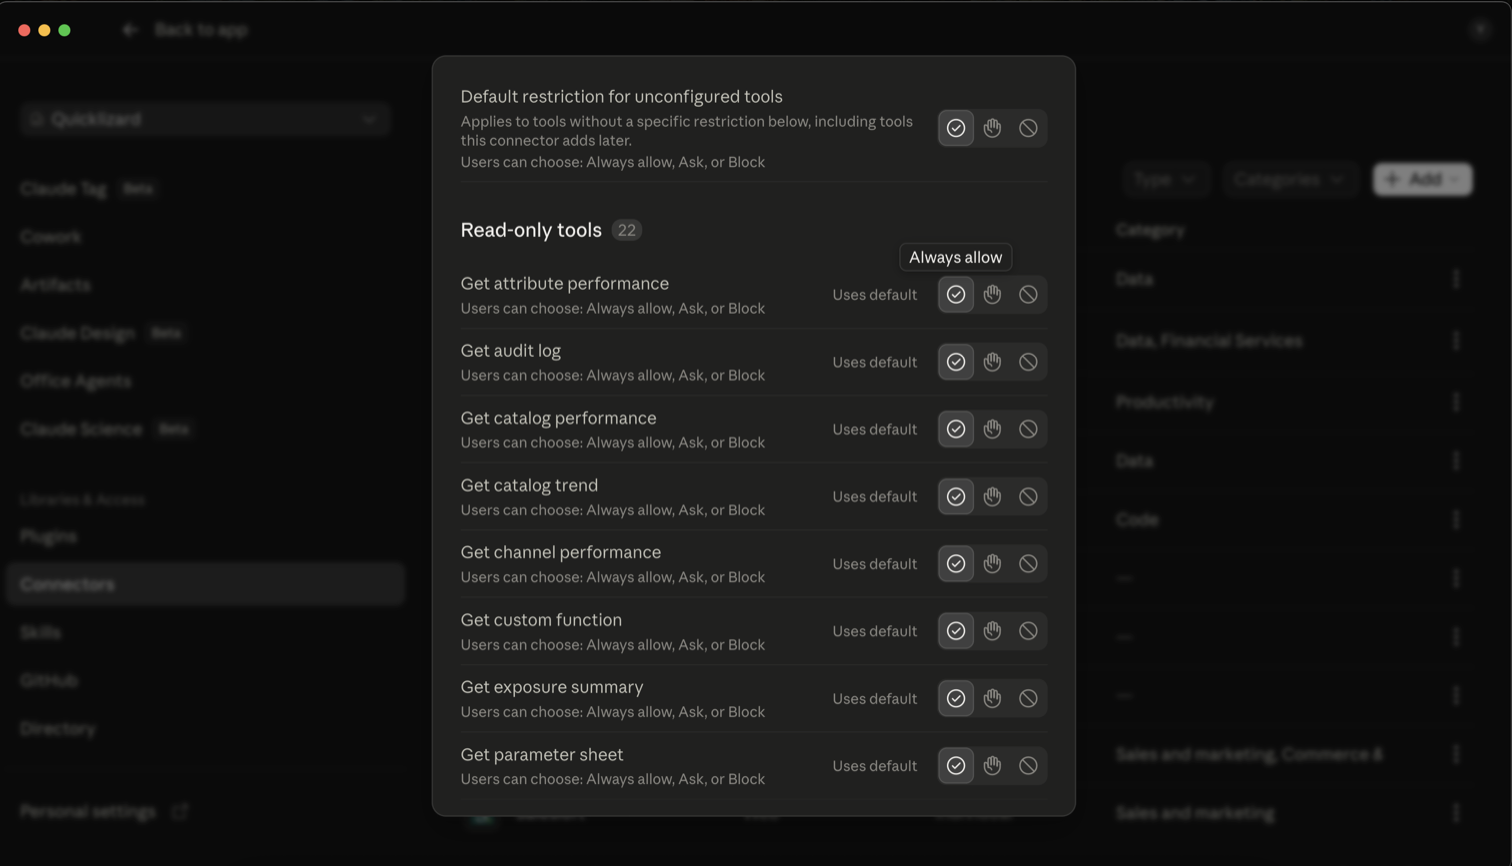
Still in the organization connector settings, you can open the connector and set how its tools are approved for your members. For each tool, or for the connector as a whole, you can choose:
- Always allow — members can use the tool without confirming each call.
- Ask — members confirm every individual call.
- Block — the tool is hidden from members.
Claude groups every Quicklizard tool under Read-only tools, because none of them can change prices or configuration. Always allow is therefore a reasonable default and gives your team the smoothest experience. If you prefer, leave it as it is and let each user choose Always allow themselves the first time they are prompted.
There is also a Default restriction for unconfigured tools setting at the top. It covers any tool without its own setting, including tools the connector adds later — so it is worth setting deliberately.
# Step 6 — Tell your team
Setup is now complete on your side, but nobody is connected yet. Each person has to authenticate with their own Quicklizard credentials, which is what enforces per-user data access.
Send your team the User Setup guide, and tell them which connector name to pick (Quicklizard US or Quicklizard EU).
# A note on security
- The connector is read-only. It can look up and analyse data, never modify it.
- Each user authenticates individually with their own Quicklizard login. Claude only ever sees the accounts, product sets and channels that that specific user is already permitted to see.
- Adding the connector organization-wide does not grant anyone access to Quicklizard data they did not already have.
# Next
- User Setup — what each of your users needs to do.
- Troubleshooting — if something does not work as expected.
← Overview User Setup →